Mega Zip at Red Mountain Park
Recently I took a trip to Red Mountain Park to do their Mega Zip Adventure. This trip is the second time that I have done the zip line at this location.
Mega Zip Line
Make Your Reservation
I was able to make my reservation via the Red Mountain Park website. It was easy and straightforward. Just have to pick one of the time slots that is available on the day that you choose, pay your money, and sign the waiver.
At the time of this writing, the cost to do the zip line is $29 (USD) per person, not including credit card processing fees.
There are some physical and age requirements that you have to meet in order to be able to do the zip line. Be sure that you read about those before making your reservation.
Day of the Hike
In order to get to the zip line adventure, you have to hike in from the parking lot, to the main office (which is a metal shipping container), to a secondary check-in point (which is another shipping container), and then to the Kaul Tower. I estimate that the total walk time was about 15-20 minutes.
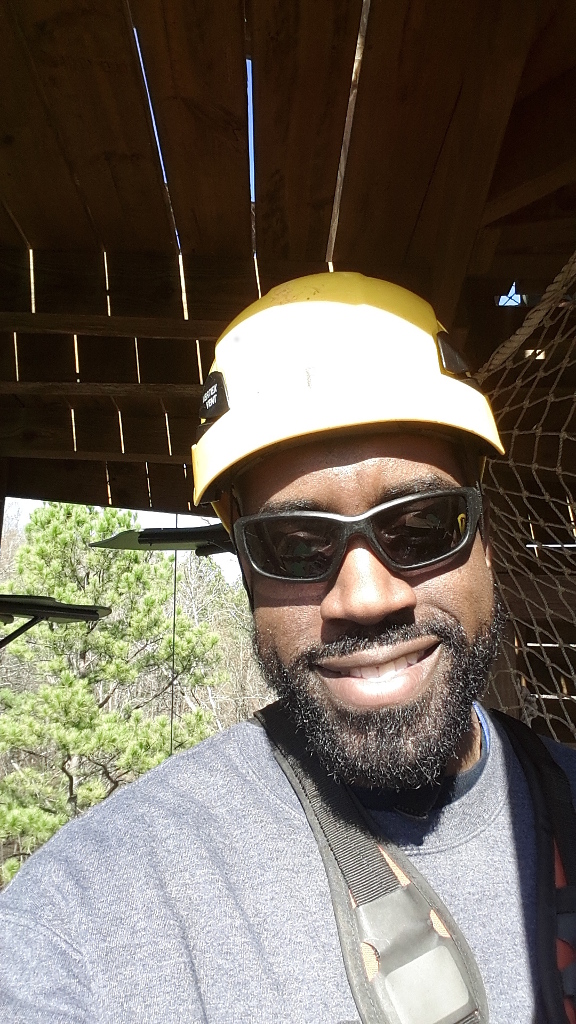
Once at the tower, you will be given a full body harness and helmet to wear.
Climb the Tower
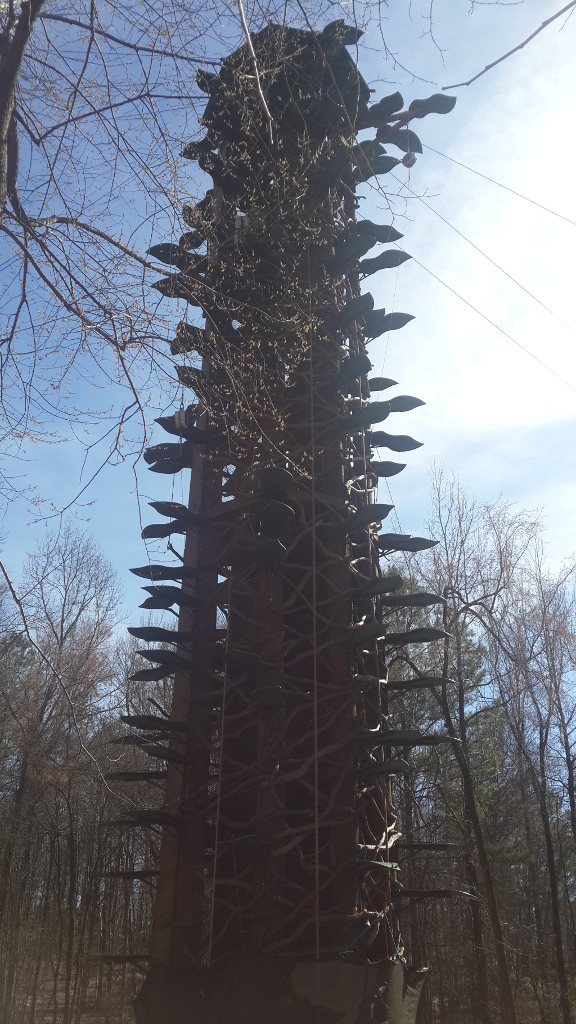
To get to the zip line platform, you have to climb the tower from the inside. The tower is approximately 80 feet high. it has a very tight winding combination of steps and ladders.
The steps are very steep and the ladders have nets that will catch you if you fall. The ladders resemble wood pallets.
Prepare for Launch
Once at the top, you'll have to wait until you are called up to the platform. Only two riders are allowed on the platform at a time as it is a small space.
You will be connected zip line cable and given instructions on how to get off the platform.
For me, the instructions given, varied from my actual experience. I am 6 feet tall. Before you launch, you are advised to squat down into your harness and make your way to the edge of the platform.
If you are shorter, the harness will start pulling on you in the squatting position and the weight of your body will be on the zip line cable. Because I am taller, the harness did not start pulling on me until I went off of the platform.
That being said, the initial second or two after coming off of the platform, felt like a free fall jump. Scary!
Zip Away
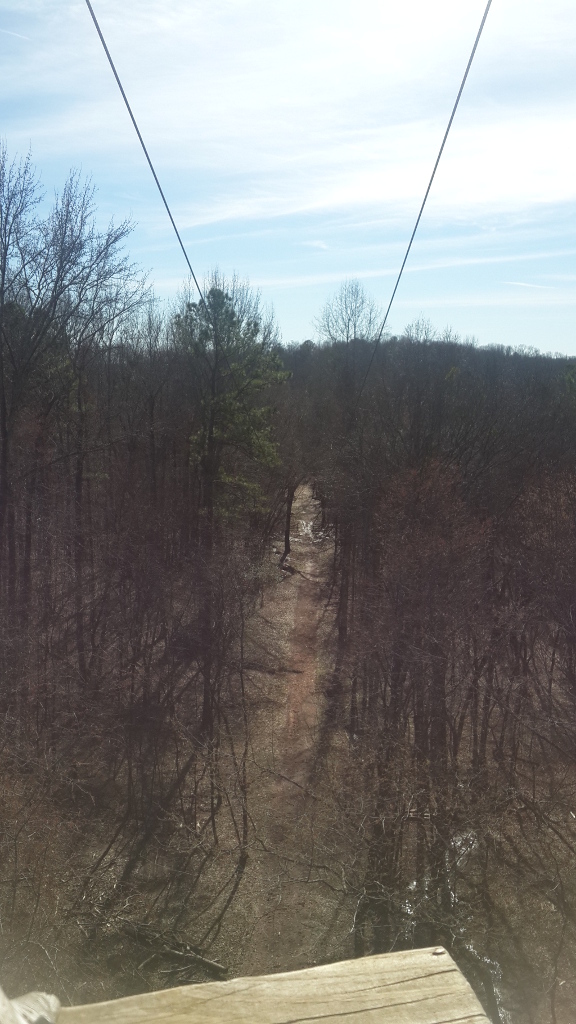
Next comes the fun part. Zip lining for 1000 feet. The wind will definitely get in your face. I did this during the winter season, so there were not mosquitoes out and about.
However, in the summer months, you will want to consider wearing sunglasses as the last thing that you want to happen is a bug slamming into your eye at 30 miles per hour.
As you get closer to the end of the zip-line, you will pass the dismount platform and gravity will slow you down and send you back towards the dismount platform.
You will zip forward again to the dismount platform where the staff will help you get off the line and back onto the ground.
Again I Say! Again!
If you choose, you can go a second time.
The second time, they will let you go backwards on the zip line if you choose. The first time, they do not let you go backwards as they want to adapt to the experience of zip-lining.
I chose to go backwards the second time. There is definitely a difference going backwards as you cannot see what is coming up, but you do see the tower that you launch from fade off in the distance.
Hiking Trails
There are approximately 15 miles of hiking trails in the park. Some of the trails have overview or lookout points were you can get a greater view of the park and of the city of Birmingham.
A lot of people had their dogs walking with them on the trails. There were also bike riders present.
If you do choose to ride a bike at the park, be sure to ride a mountain bike and not a road bike as none of the trails are paved. The more popular trails do have a gravel surface, but the other trails are only dirt.
There are trail maps at various locations in the park. The trails are marked with 4x4 inch markers mounted to the trees next to the trail.
Each trail has a number and a color scheme so that you know what trail that you are on. When you come to some of the trail intersections, there is a trail marker, similar to the old concrete street signs, that denote which trail continues in which direction. These markers are noted as being done by a local Boy Scout troop in 2016.
Old Iron Mines
This park is situated in Southwest Birmingham. Back in the late 1800 and early 1900s, iron ore was dug out from the mountain and used to make steel. As you may know, during the Industrial Age, Birmingham, Alabama was known as the "Pittsburgh of the South" as it was producing comparable amounts of steel and iron as Pittsburgh, Pennsylvania.
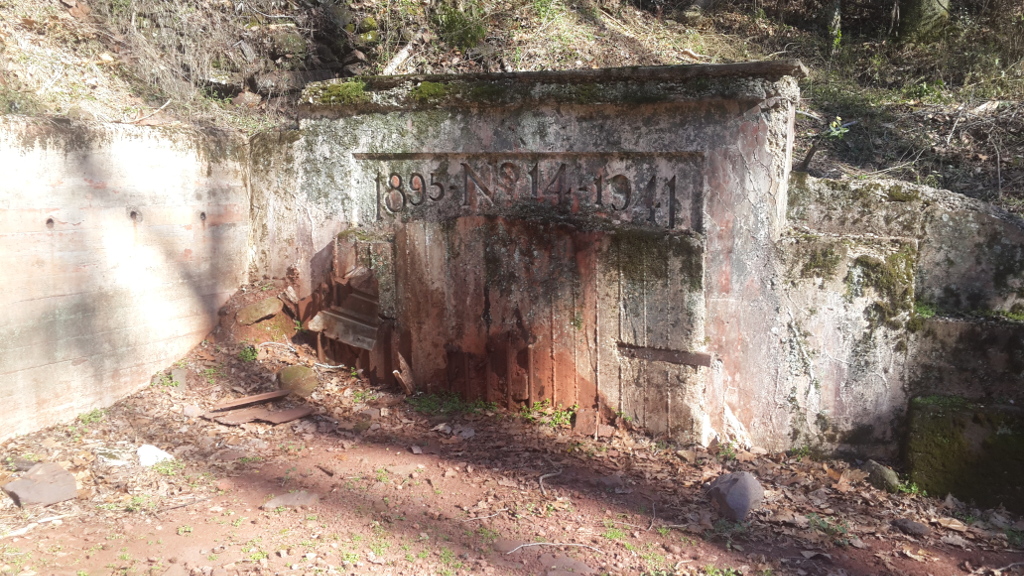
Those mines are now abandoned and sealed, but are still in place. As part of this adventure to the park, I took a hike over to the Ishkooda #14 Mine.
As you may can tell from the above and below picture, there are some rocks and dirt that has a pink-ish color to it. That coloring is the iron ore mixed in with the dirt.
There was not much to see at this particular mine, but you could see a little bit into the mine via the Manway whole as it was not tightly sealed.
Conclusion
Overall I had a good experience and would go back to the park again, to hike on some of the other trails and to do some of the other adventures that they have available.
If you are interested in visiting the Red Mountain Park, you can check out their website.
I did not receive any sponsorship or compensation for this post. This post is solely my opinion of the activities that I have described.


