How to Start A Garden in 8 Steps
How to Get Started With A Garden
Spring... all that pollen lets us know that is here. I recently got asked by a high school classmate how I got started with my garden and any tips that I could provide them with to help them get started with hers. In addition, the big box stores are having their spring Black Friday sales. Which means plants and all things plant related,including dirt, tools, etc. are on sale right now. Check your local sales paper for the dates and the details. With the spring Black Friday sale, this is the perfect time for you to start your summer garden. Below I have outlined 8 steps for you to get started.
Step 1) Determine A Location
The first step to get started with a garden is to determine where you are going to set up your garden in the amount of sunlight that that area gets in a day. If you intend on growing fruits and vegetables this season, then you will want to pick a spot that has mostly sun or is full sun throughout the entire day. The reason is that most fruits and vegetables require a lot of energy to generate those fruits and vegetables that we enjoy, or hate if you are a kid.
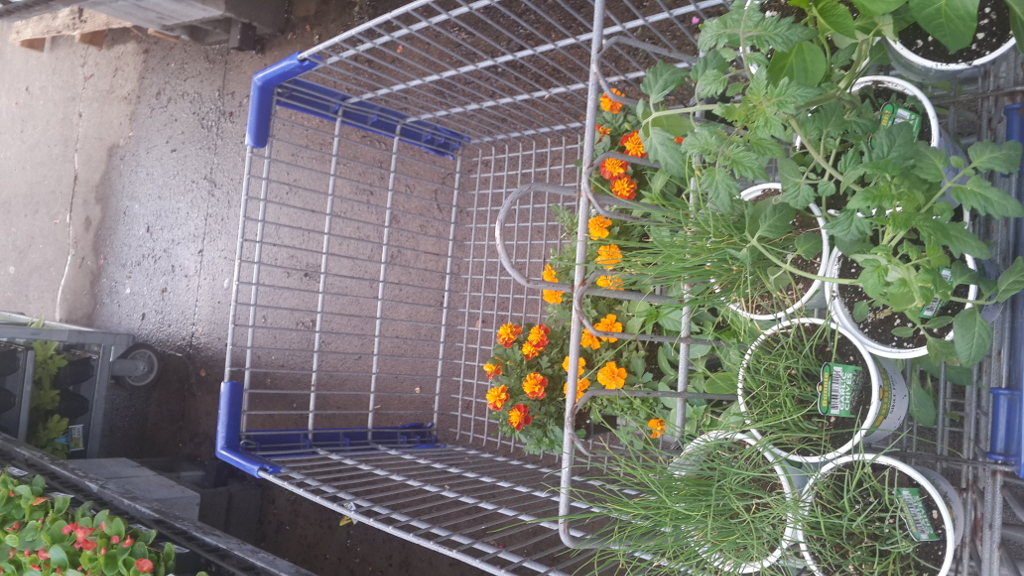
Step 2) Container Garden Or In The Ground
Once you have decided where you want to set up your garden, then you will need to determine whether you are doing a container garden or a garden in the ground or raised beds. I categorize in the ground and raised beds into the same category because they're both permanent fixtures that you set up. Container garden includes putting plants inside of a container, such as a 5 gallon (18.93 liters) bucket, a pot, an old trash can, or a drum. You get the idea. When I first started gardening, I gardened with only containers. This year I've expanded to gardening with raised beds using cinder blocks in addition to the containers I already have.
Step 3) Gardening Tools
Next you'll want to purchase some gardening tools. You don't need any advanced tools for most of the work. At the very minimum, you want to have a shovel and gloves. The size of the shovel will be determined by what type of garden you choose to set up. A container garden only needs to have a hand shovel whereas a raised bed or in-ground garden needs to have a full size shovel. If you're setting up a raised bed or in-ground garden, I recommend that you also purchase a rake. The rake will help you to level out the dirt and other materials that you are placing in your garden. Gardening gloves will be used to protect your hands. However, if you have latex or other type of gloves those will do the job as well.
Step 4) All Dirt Is Not Equal
Once you have decided on the type of garden that you want set up, then you will need to get the type of soil that corresponds to the type of garden that you're going to set up. I know what you are thinking...there are different types of soil? Yes there are two distinct types of soil that are sold at the big box stores. The first type of soil is called garden soil. Garden soil is intended to be used directly on the ground or as part of an amendment to the existing ground soil. The other type of soil is called potting mix. Potting mix is designed to be used in some type of container. The major difference between the two types of soil is how well they retain and drain water. Garden soil drains more easily because it has the rest of the ground to disperse excess water into and then reclaim it at a future point in time. However, potting mix does not disperse water as easily and will actually retain more of the water in the soil and disperse the extra after retention. The reason for this is that pots are not able to pull water from other locations other than the water that has been given to them. Whereas the water that's in the ground can be drawn in by plant even if it's not directly underneath the plant or in the soil that the plant is in direct contact with.
Step 5) Soil Amendments
The soil that you buy from the store can be used immediately. However, when I buy soil from the store, I always add some amendments to it to better the growth of my plants. Those amendments include Epsom salt, peat moss, and compost. For my plants, I use 1/3 of soil, 1/3 of peat moss, and 1/3 of compost. I use the "it looks about right" method when measuring out the materials. However if you want to be exact with your measurements, you can by 1 cu ft of peat moss, compost, and soil and then mix them together. A reasonable amount of epsom salt should also be added. Epsom salts provides additional minerals that normally do not come with soil or from off the shelf fertilizers. Epsom salt, as you may know, is magnesium sulfate. Magnesium sulfate is a second-level mineral as it was described to me, that helps promote the growth of plants. Peat moss helps with water retention within the soil. It also helps aerate the soil when water is added and removed as peat moss expands and contracts. Compost adds decomposed materials and other organic matter to your soil including nutrients. Organic matter is vital to the growth of the plant as the goal of having a healthy garden is to have a sustainable ecosystem.
Step 6) Fruits, Vegetables, or Flowers
Now that you have your soil you can decide on what type of plants that you want to put in the soil. When you go to purchase the plants that you want to Garden, be sure to look at the tag that comes with the plant. On the tag it will include how much sunlight that the plant needs in order to survive, The water requirements, and what the plant is. When I plant my fruits and vegetables, I usually leave the tag and next to where the plant is. That way in the future I know what the plant is that I'm looking at in a given location. If you happen to lose the tag that goes with a particular plant or a plant does not come with a tag, you can use a plastic butter knife next to the plant and write the name of the plant on the butter knife. Depending on the length of the growing season in the region that you are in, some Fruits and vegetables may not be possible to be grown in your area as it may not be warm enough for the correct amount of days.
Step 7) Just Add Water
Plants, like any other living creature, need water. The guidelines that I follow regarding water for my outdoor plants is every other day during the hottest part of the season. During the cooler parts of the year, I usually water as needed. This need is determined based upon how dry the top inch to inch and a half of the soil is. If it rains on a given day during the hottest part of the season, I do not water my plants. The reason being is that you want the plants to be able to manage without going daily with water, in case you decide to go on vacation.
Step 8) Now That's Some Good Eating
I know the section heading is not grammatically correct, but it does prove a point. Once your fruits or vegetables have reached their harvest date,then they are free to pick. How do you know what the harvest date is? The harvest date is written on the tag that comes with the plant. It is possible that the fruit or vegetable can be harvested prior or after the harvest date, but it's not advisable to do so as you want the plant to mature to the best of his ability. Do note that the harvest day is more of an advisory than an exact measurement. The conditions that the plant is in,such as the amount of sun, the amount of water, the health of the soil all play a factor into whether that harvest day is exact or not.
Conclusion
Hopefully this has helped you to get prepared for your Spring Garden this year. If you need help with getting started with your garden, drop a comment in the comment section below and I will do my best to help you.