Building Raised Garden Beds
This year, I decided to expand the growing space for my garden. As some of you may know, I have, for years, planted my fruits and vegetables mostly in containers and pots instead of directly in the ground. I’ve learned a number of lessons about the differences between planting in the ground vs planting in containers. I’ll cover that in another post. In this post, I will cover how I built multiple raised beds out of concrete blocks.
Step 1: How Big and How Many
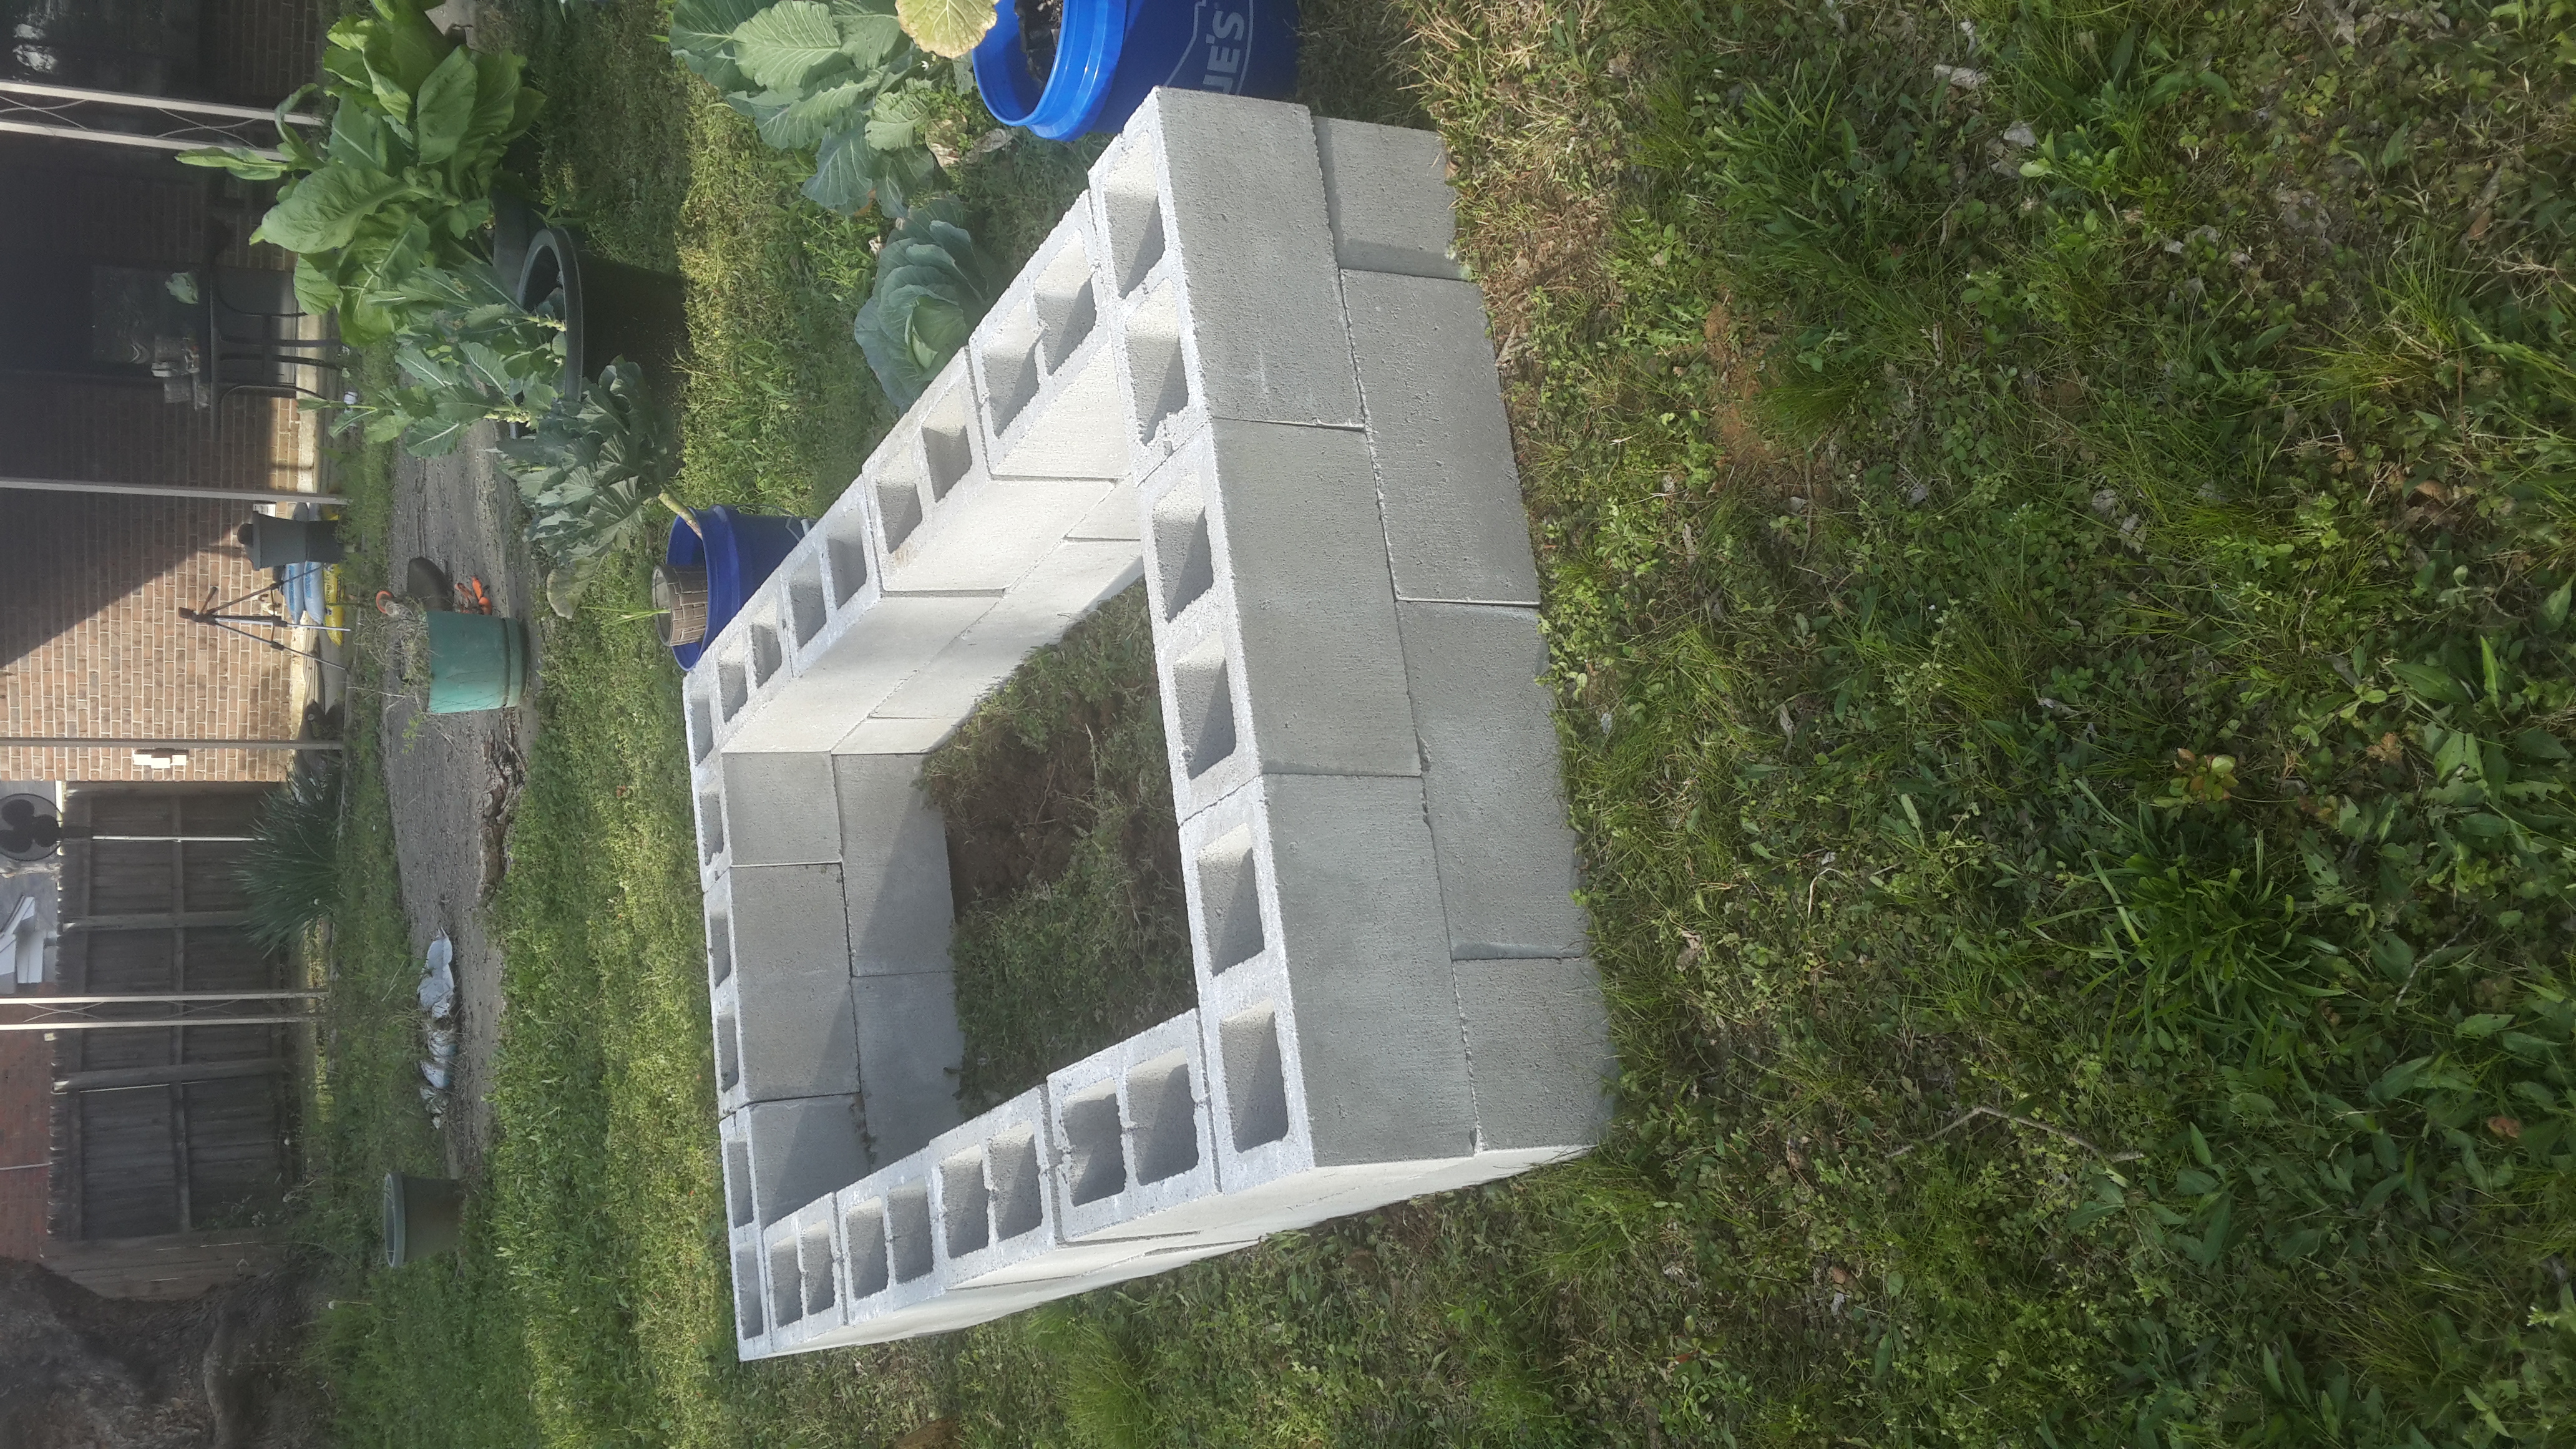
Building a raised bed is simple, but you will need to do some calculations before getting started. I know you were probably not ready, but there is math involved. Nothing advanced like calculus, but you may need a calculator if you forgot your multiplication tables, so have one on standby just in case. For the width of the bed, I would recommend that it be a maximum of three blocks wide. Using 16 inch long blocks, that’s just over 3 feet in total width. For the average gardener, that will allow you to at least reach the middle of the bed from either side. I used 5 blocks along the longer side and two sides on the ends for the bottom row. Then I used 3 blocks on the ends and 4 blocks along the sides on the top row. Thus a total of 14 blocks(5 per side times 2 sides = 10, 2 per side times 2 sides = 4, 10 + 4 = 14) per row. If you noticed, I did not use feet or inches as measurements. The reason being is that converting linear length to blocks is additional and unnecessary math for this project as there is an inside length (where the plants and dirt will go) and an outside length (where you would stand when picking your food) that would have to be calculated. Besides, when you go to make your purchase, they are going to want to know how many blocks that you want, not how many linear feet or inches or centimeters or yards or kilometers of blocks that you need.
Step 2: Time To Go Shopping
For this project, you will need the following:
(Please consider using the affiliate links below this post. They help to support this website)
-
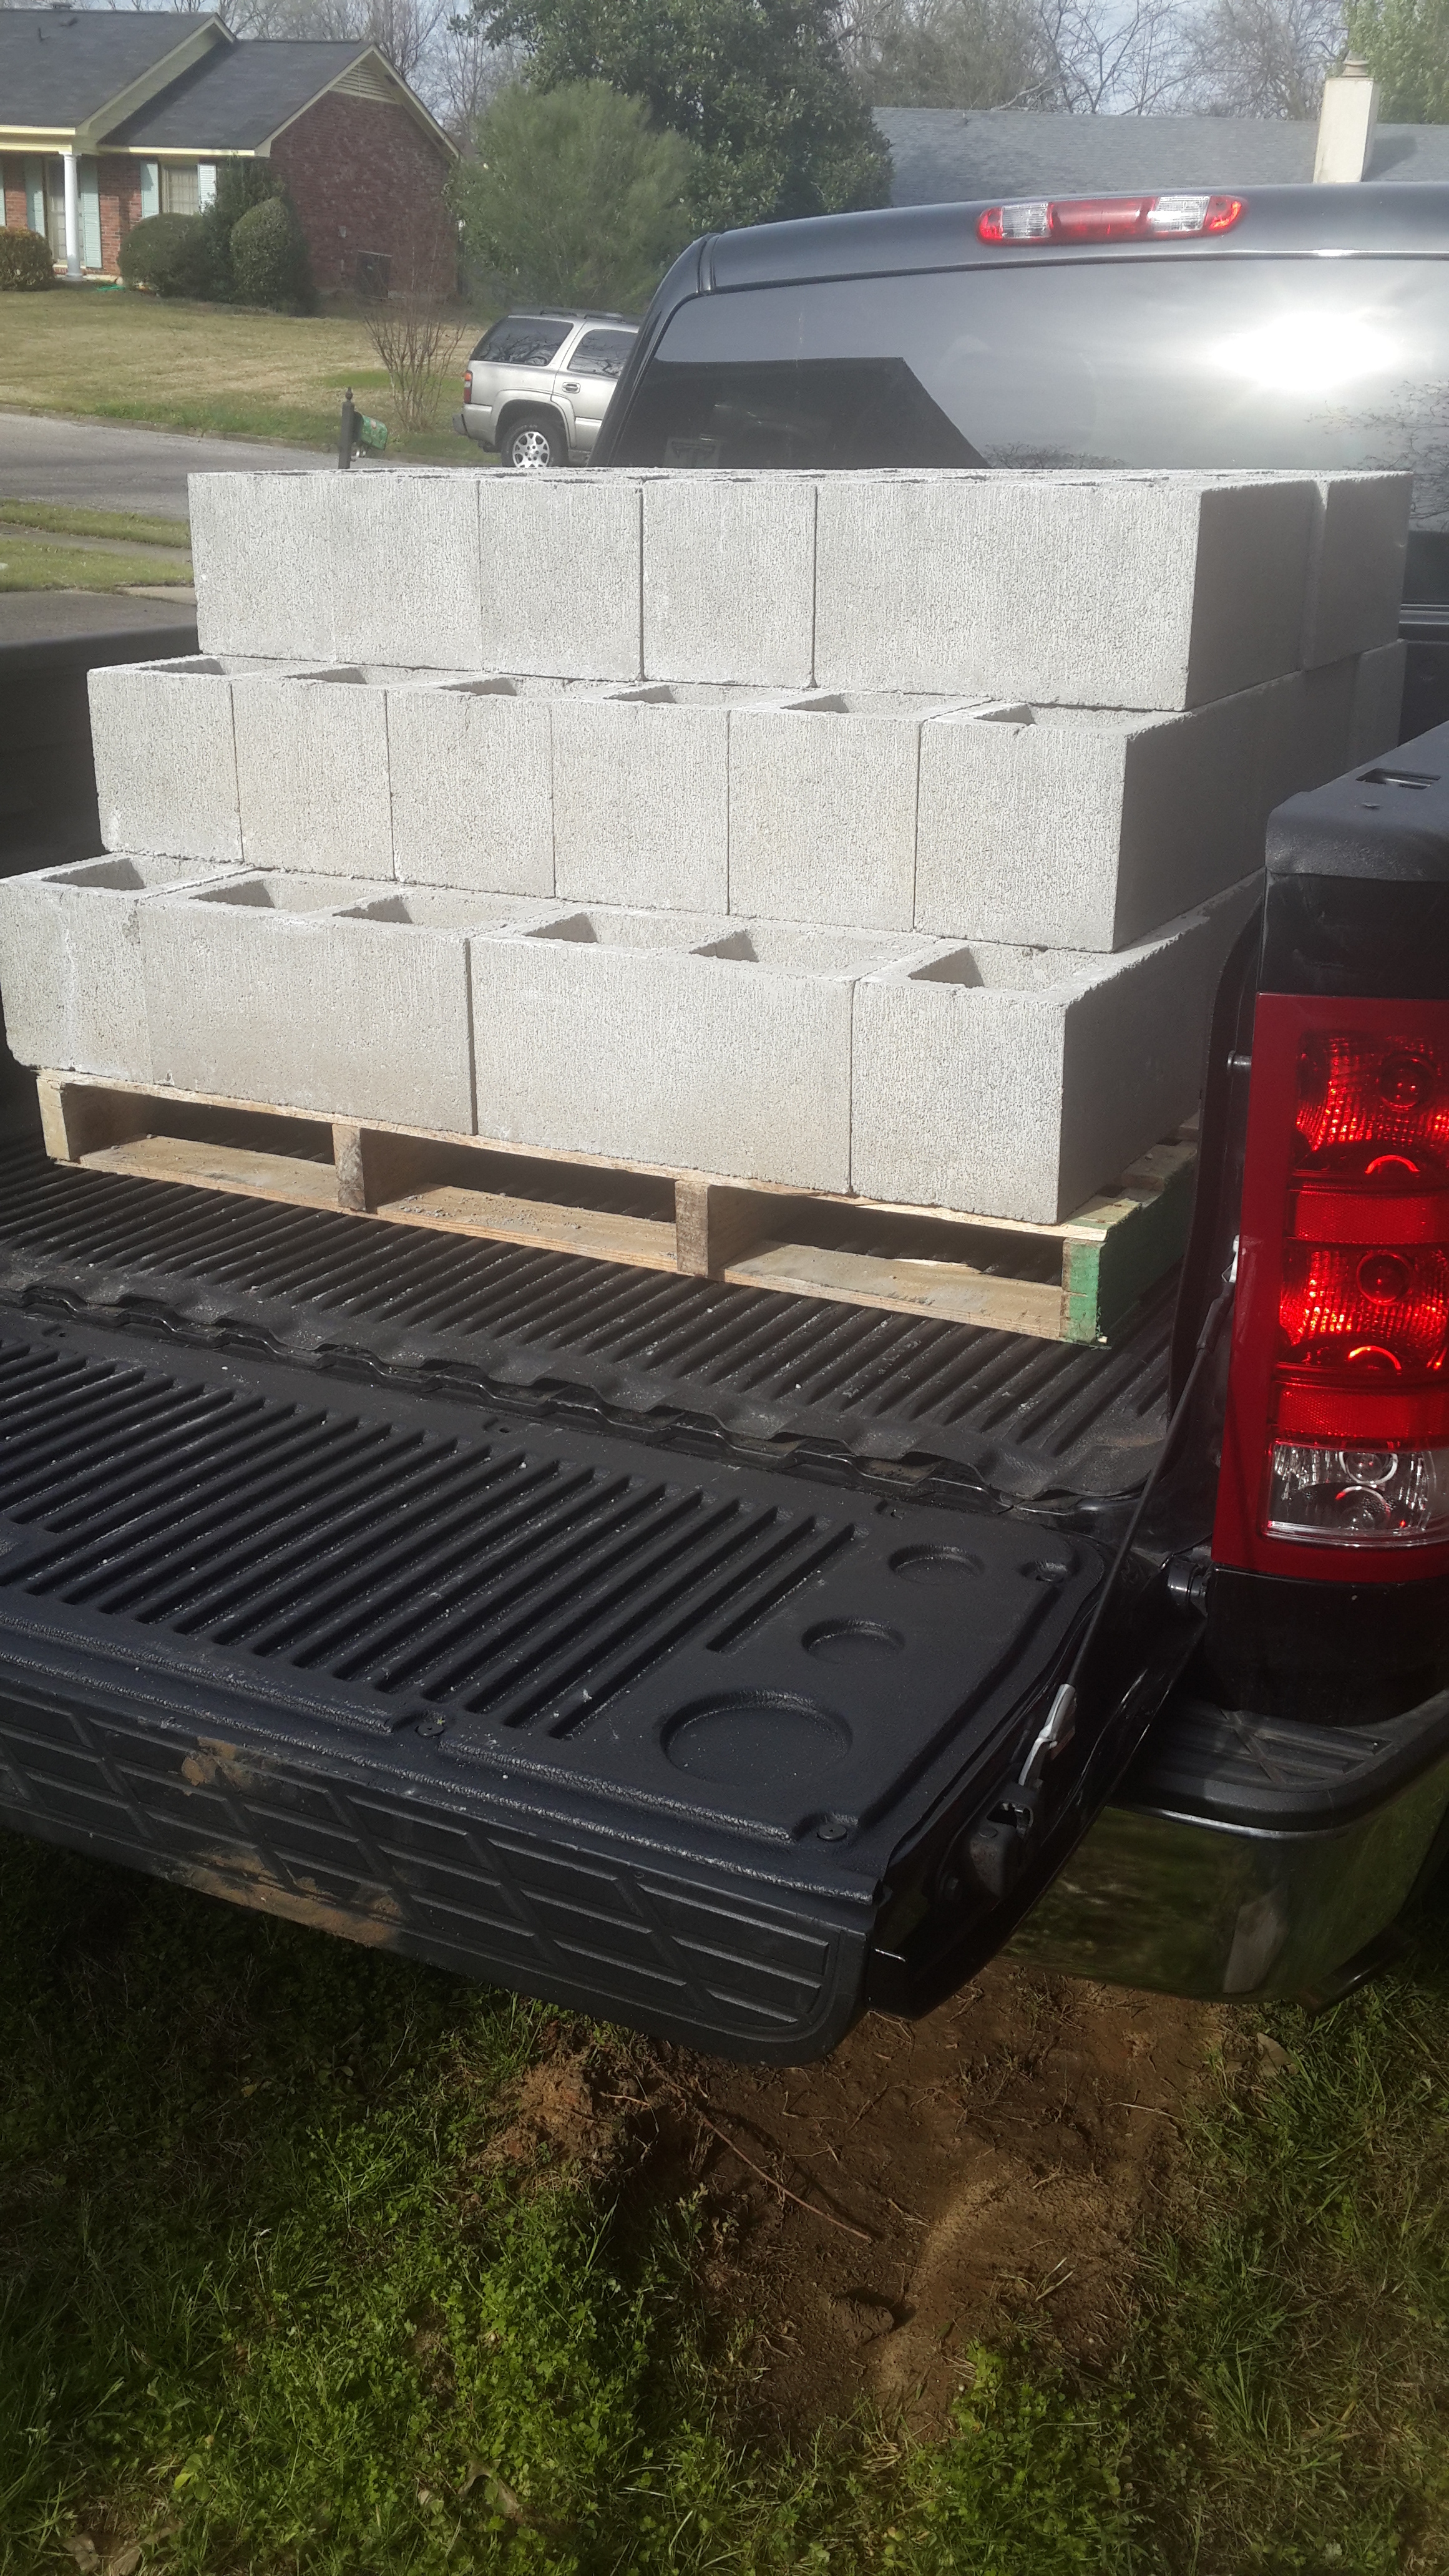
concrete blocks (see Step 1 for how many blocks) spirit level (see link below) 2 feet wide object (a lawn mower works) Construction / Work Gloves masonry adhesive (optional) Why concrete blocks? Modern concrete blocks are made of just that... concrete (sand, water, cement). Considerations for using concrete blocks:
-
the ones that you buy will mostlikely not contain any chemicals or other things that are poisionious or dangerous to your health. I would advise not getting blocks from unknown sources. are more expensive than wood. The total amount for the 56 blocks that I purchased was $84, before discounts and taxes have a very long outdoor life regardless of what the weather or ground conditions are like If you do not have the money for concrete blocks, then wood is an option. Considerations for using wood:
-
wood is cheaper than concrete blocks. If you are looking to do gardening for the long term, the cheaper initial cost will be negated by the recurring replacement cost of the wood use untreated wood. Treated wood contains chemicals that can be hazardous to your health if consumed. the outdoor life of untreated wood is shorter than that of concrete. That means that if you live in an area with a lot of rainfall or high water table, that the wood will rot faster than average and therefore will need to be replaced sooner.
Step 3: Site Selection
After you have purchased the items above, you need to select a flat or mostly flat spot in your yard. My yard actually slopes towards one corner of the yard, so there isn't a truely flat spot in the yard. If you read other articles, they will recommend leveling out the place where you will be placing the blocks to be level. Personally I did not level out anything as digging up dirt and grading it so that it is level is back-breaking work, unless you have a bobcat or some other heavy machinery to assist you with the job. However if your growing space is significantly out of level, I would recommend that you do some grading of the ground.
Step 4: Dropping Bricks
Now... do not actually drop the brick wildy as it might land on your foot or smash to pieces. Once you have identified your location, start placing your blocks according to the configuration that you have decided on. For this step, you can use the spirit level to make sure that the blocks line up with one another. If you have chosen to secure your blocks, you can use the masonry adhesive between each block that you place.
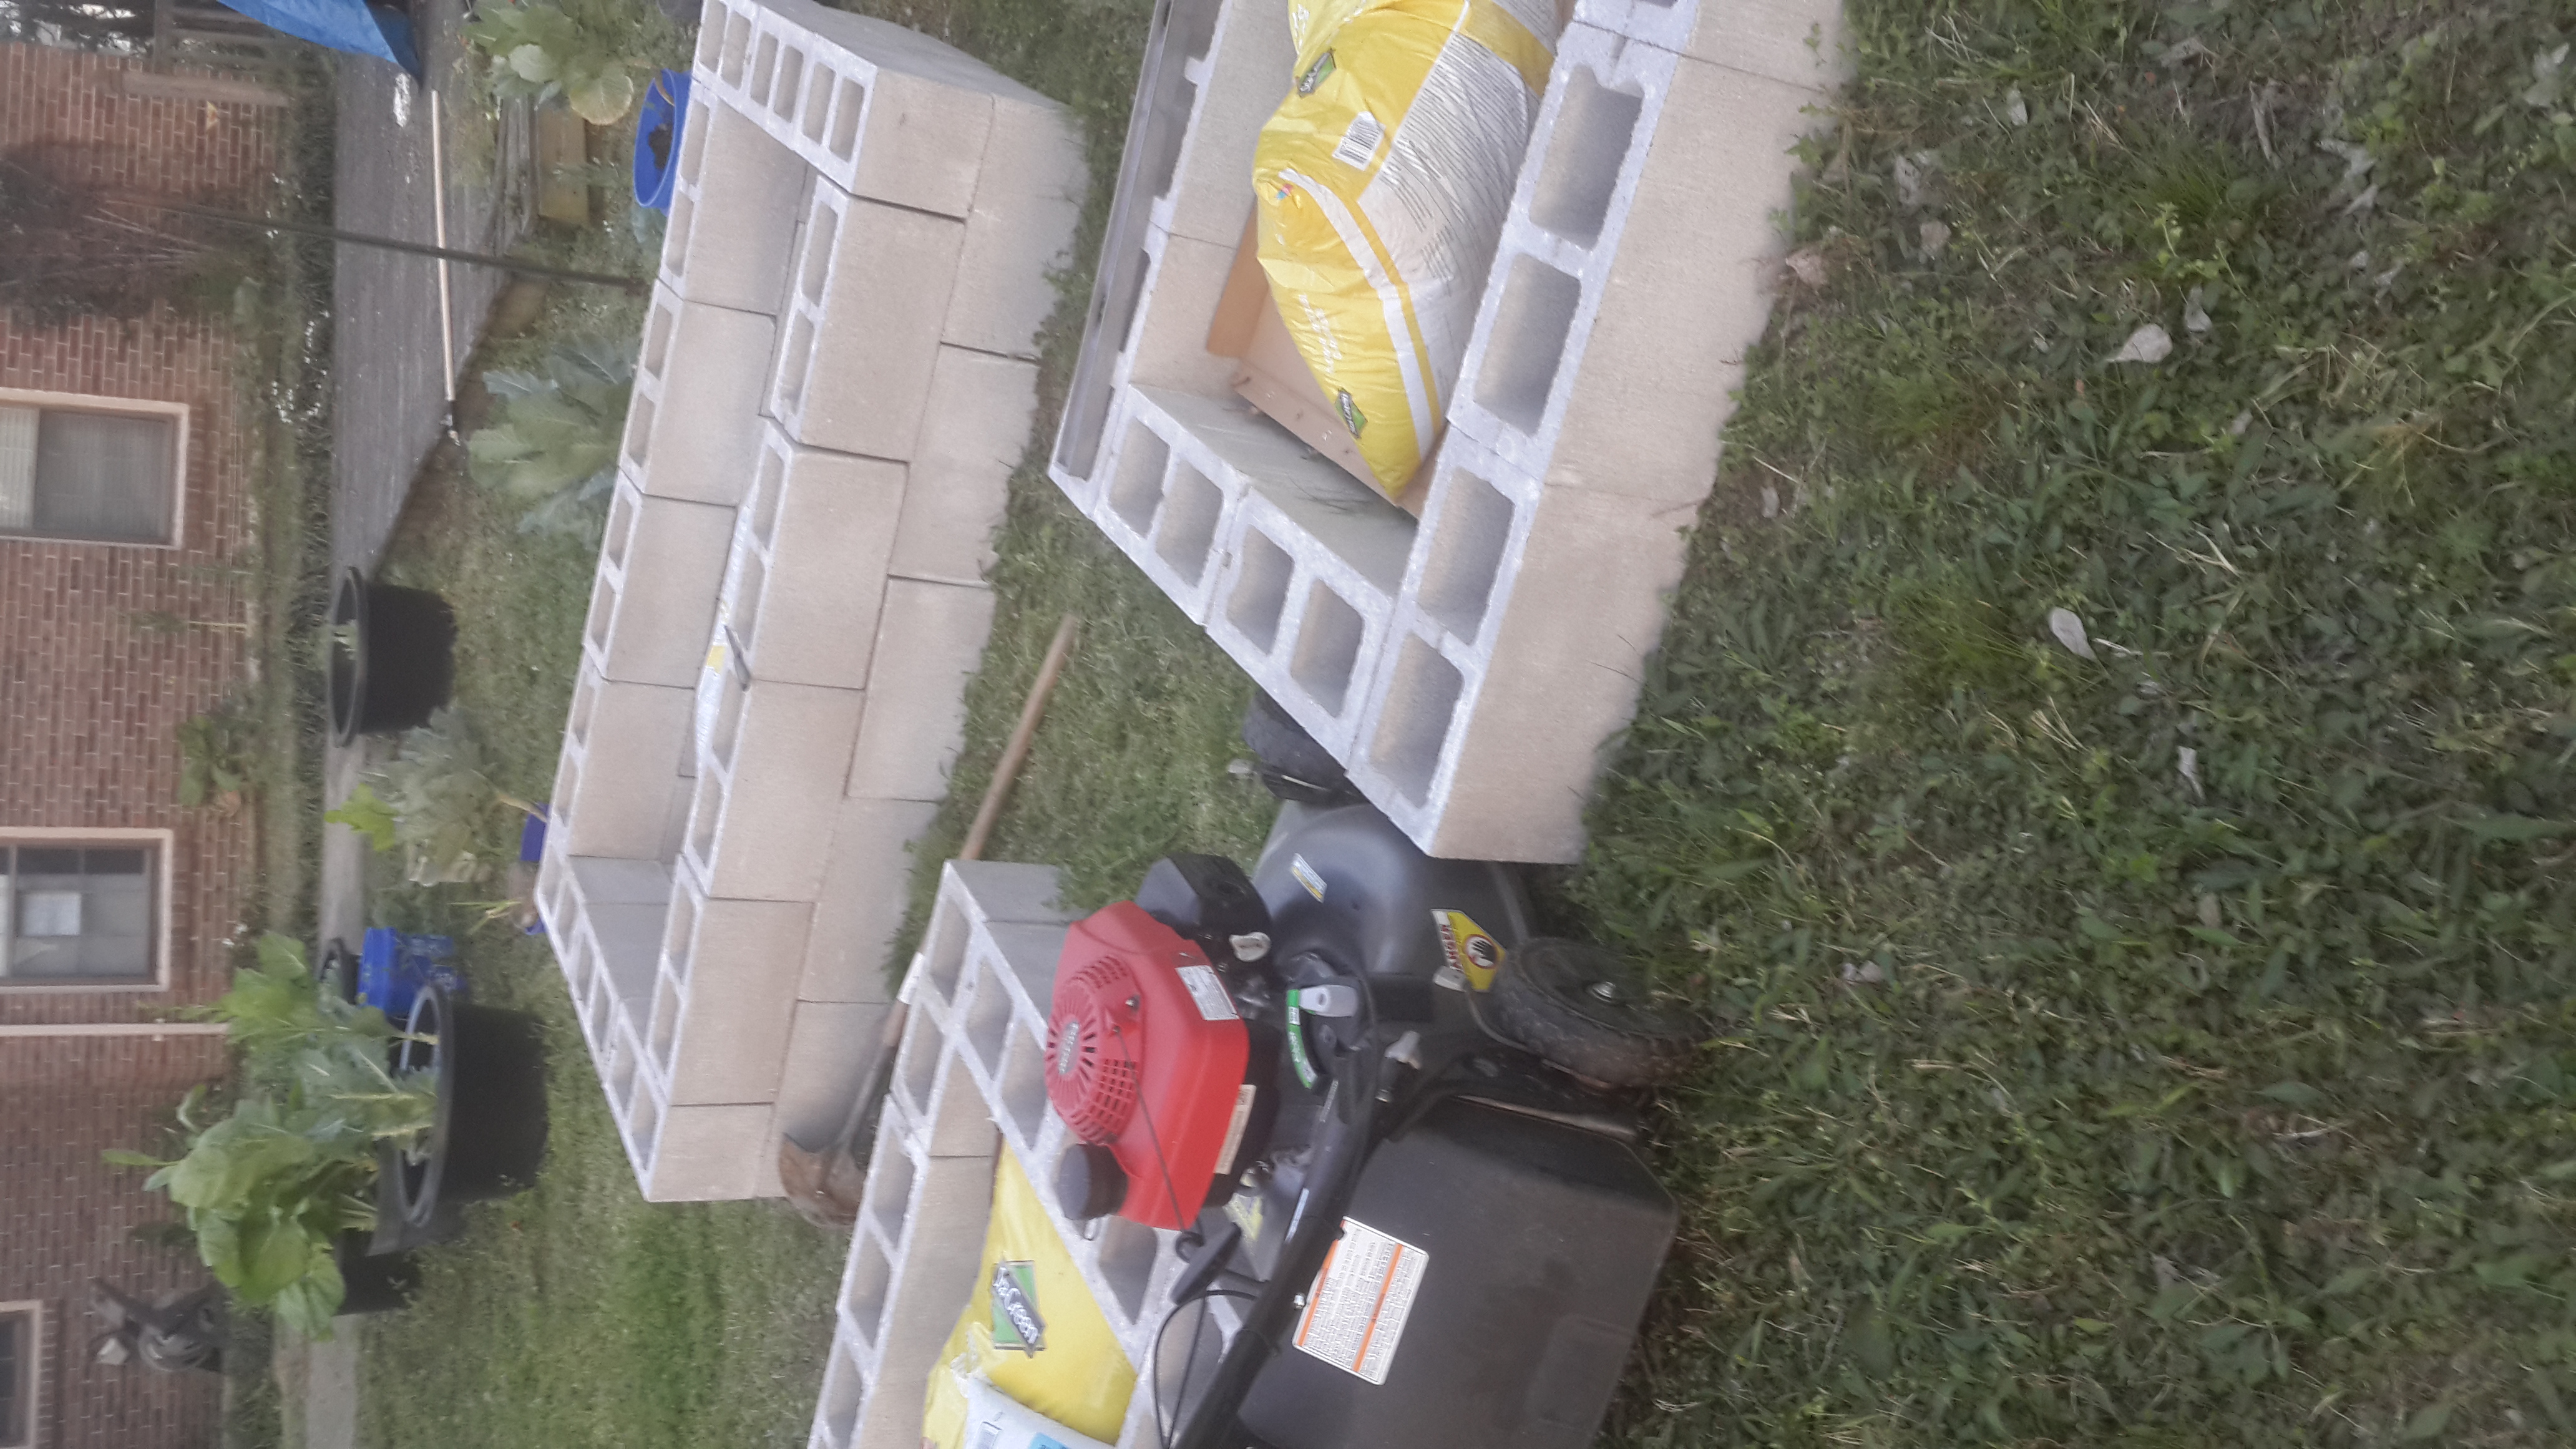
Step 5: Spacing Between Beds
If you are making multiple beds, you will want to make a pathway between each of the beds so that have access to all of the sides of the grow bed. For the sake of simplicity, I used my lawn mower to determine the width of the spacing between the beds. Most push and walk behind lawn mowers are between 18 and 22 inches wide. That is almost two feet of space that you did not have to measure. In addition, as you lay out your bed, you do not have to continously re-check the width of the walking path to make sure that it is equal.
You now have as much growing space that you can manage. In the next post, I will cover the dirt that I use for the beds.